The Pre-Ride "M" Check
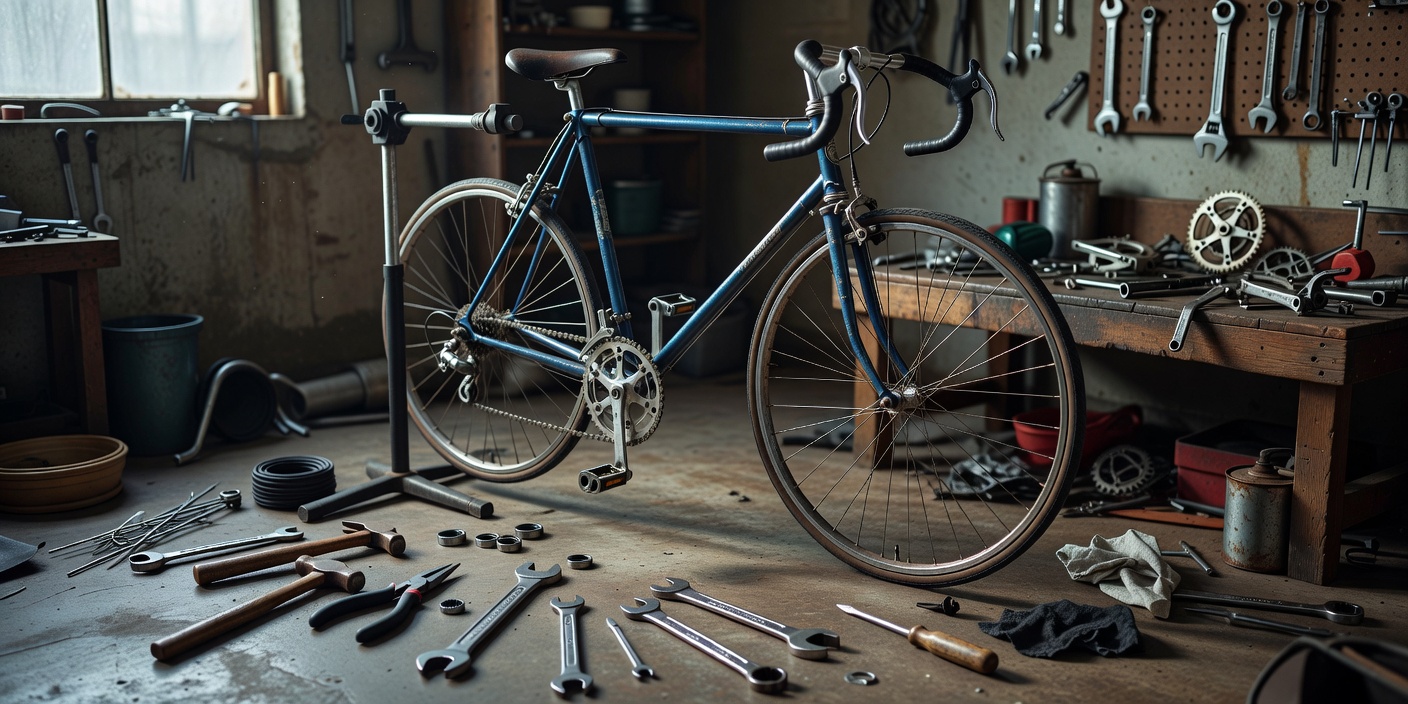
Before every ride, you should perform a quick safety inspection known as the "M" check. Trace an imaginary letter 'M' across your bike, starting at the front wheel and ending at the rear.
- Front Wheel: Check tire pressure, ensure the quick-release or thru-axle is tight, and verify the wheel spins true.
- Cockpit: Check the handlebars and stem. Squeeze the front brake firmly and rock the bike back and forth; if there is knocking, your headset is loose.
- Bottom Bracket: Check the cranks for lateral play. Ensure your pedals spin smoothly.
- Saddle: Check that the seatpost clamp is tight and the saddle does not twist.
- Rear Wheel: Repeat the checks done on the front wheel, and briefly inspect the rear derailleur for obvious damage.
Drivetrain Cleaning and Lubrication
A black, gritty chain will wear out your expensive cassette and chainrings prematurely. Keeping your drivetrain clean is the single best way to prolong the life of your components.
The Cleaning Process
Use a specific bicycle degreaser (avoid harsh automotive solvents) and a stiff-bristled brush. Apply degreaser to the chain, cassette, and chainrings, scrubbing vigorously to remove the paste of old oil and dirt. Rinse thoroughly with low-pressure water. Never use a high-pressure washer aimed directly at the bottom bracket or wheel hubs, as this will force water past the seals and destroy the bearings.
Applying Lube
Once the chain is completely dry, apply a single drop of bicycle-specific chain lube to each roller on the inside of the chain. Pedal backward for a few revolutions to work the lube into the pins, then take a clean rag and wipe off as much excess lube as possible. A wet, oily chain attracts grit; the lubrication only needs to be inside the rollers, not coating the outside plates.
Fixing a Flat Tire
Getting a puncture is a matter of when, not if. Knowing how to fix it on the side of the road is an essential skill.
When you get a flat, remove the wheel and use tire levers to unseat one side of the tire bead from the rim. Remove the punctured inner tube. Crucially: run your fingers carefully along the inside of the tire casing to find the thorn, glass, or wire that caused the puncture. If you skip this step, the object will immediately puncture your fresh tube.
Inflate your new tube slightly so it holds its shape, place it inside the tire, and push the tire bead back onto the rim. Start opposite the valve and work your way around, using your thumbs to push the final, tightest section onto the rim. Inflate to the correct pressure and ensure the bead is seated evenly all the way around.
Basic Gear Indexing
If your gears are clicking, hesitating, or skipping over cogs, you likely need a minor cable tension adjustment, not a new derailleur.
Cables stretch slightly over time. If the chain struggles to shift up to a larger cog, the cable tension is too loose. Turn the barrel adjuster on the rear derailleur counter-clockwise (outward) by a quarter turn to add tension. If the chain struggles to drop down to a smaller cog, turn the barrel adjuster clockwise to release tension. Make small adjustments until the shifting is crisp and quiet.
Conclusion
Bicycle maintenance is a logical, step-by-step process. By keeping your drivetrain spotless, managing your tire pressure, and making minor tension adjustments as needed, you can prevent 90% of common mechanical failures. When in doubt, consult the manufacturer's technical manuals for torque specifications and setup guides.